Categories
RMS - 6. How to do Product Modifier (Remark & Add On)
To Create Product Modifier
1-Open Zeoniq, and then go to [Dashboard] at the left side
bar.
-Look at [Product], which is the red box below shown.
Click on it.

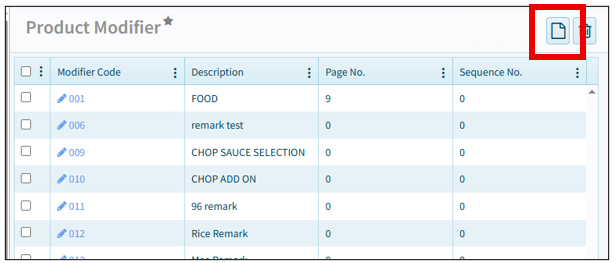
3-This is how it looks like in the Product Modifier page.
-Click on the [Paper] button to create new.
4-This is the Product Modifier Manager.
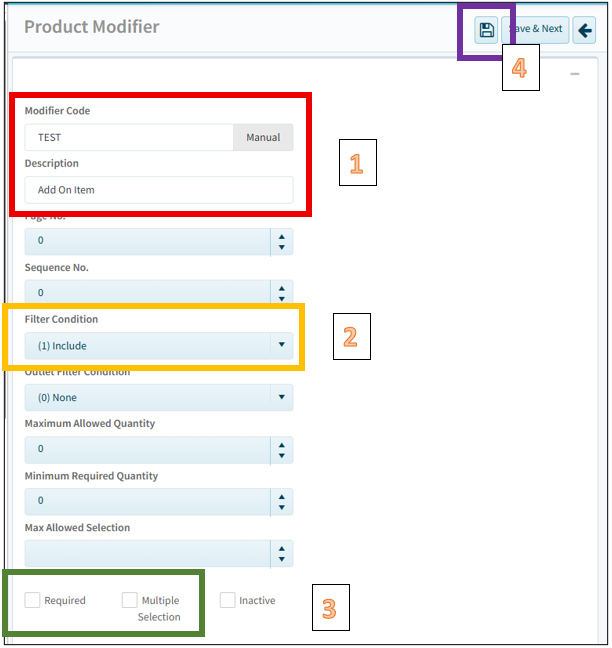
4.1-Key in designated Modifier Code and
Description. In the example is,
Modifier Code: TEST,
Description: Add On Item
4.2-Select Filter Condition to [(1) Include],
4.4-Then the setting is done, click [Save] button to save.
5-After saved, it will appear several tabs on the top. Go to
[Modifier Item] tab.
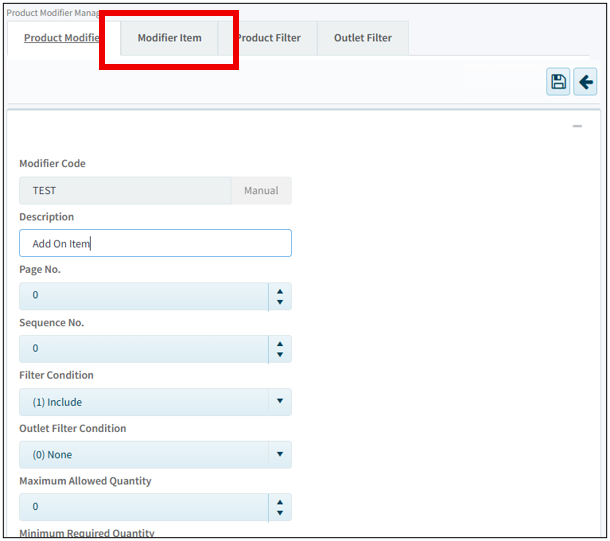
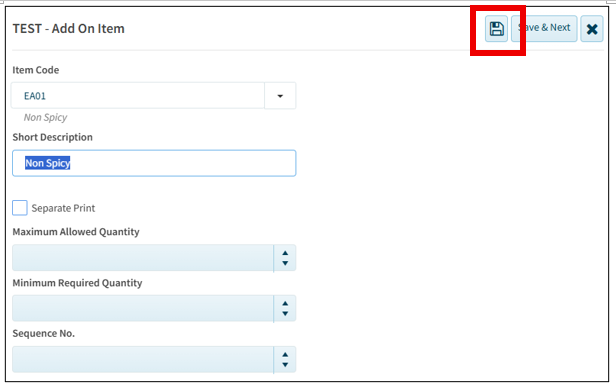
6-This is Modifier Item Tab. Click on the [Paper] button to create new.

7-It will pop out an item page.
-Select the items that you
need to be optional item.
Note: Make sure the Item Product Mode is under [(3) Modifier Item] or [(4)Modifier
Remark].

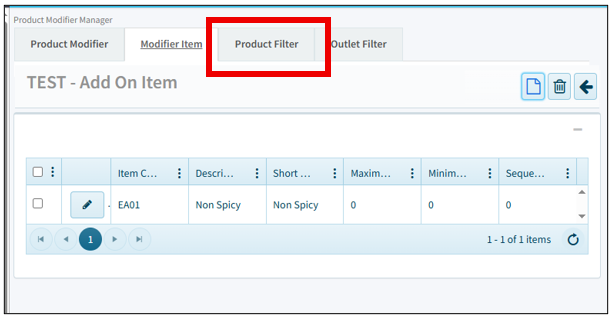
9-This is the how it looks when complete to add optional
item.
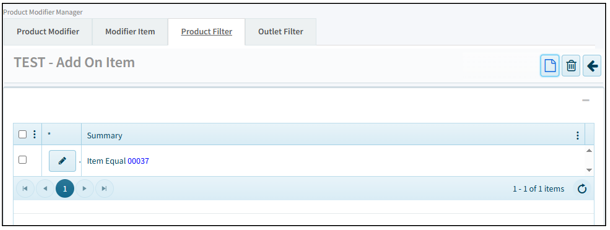
-Then move to [Product Filter] to point the main item.

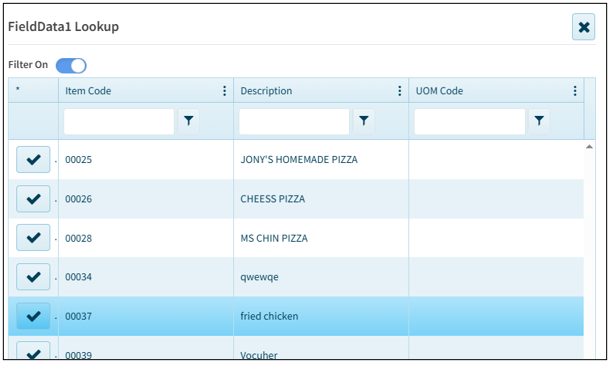
11-An item page will pop out. Select the item that you wanted
to point.
-In the example is [Fried Chicken]. Click on the tick to
select.
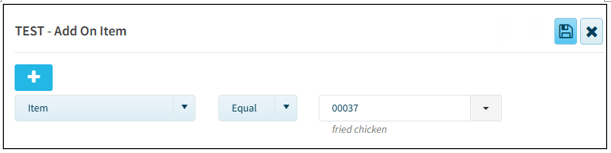
13-This is the final result.
- Notes: To let item auto pop out the modifier selection,
-under [Product Item], select the item that wanted.
1-Then scroll down to look for [Auto Popup Modifiers] and
tick.
2-Click [Save] button to save the setting.
